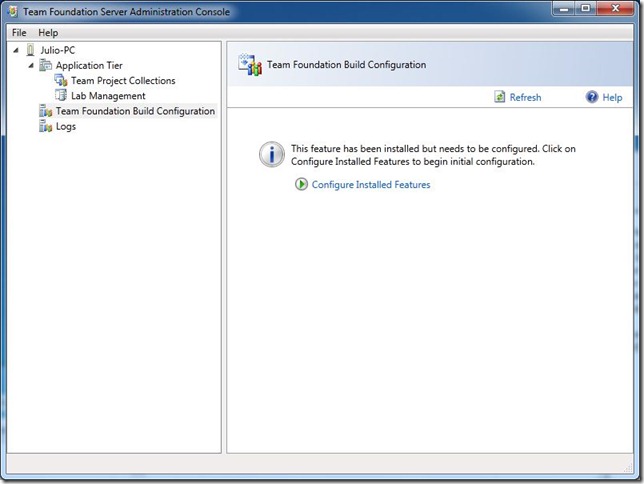
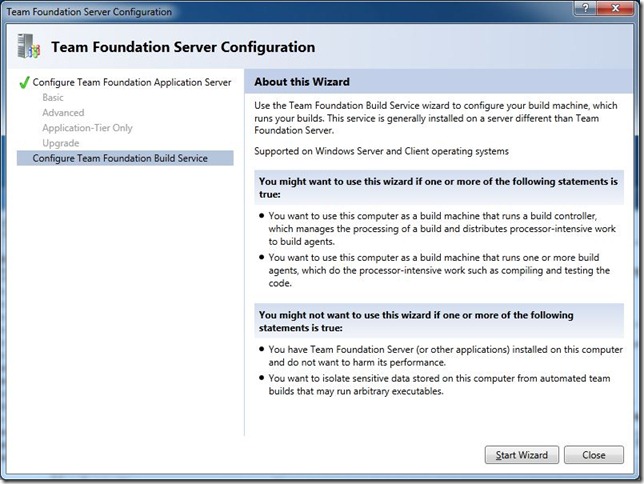
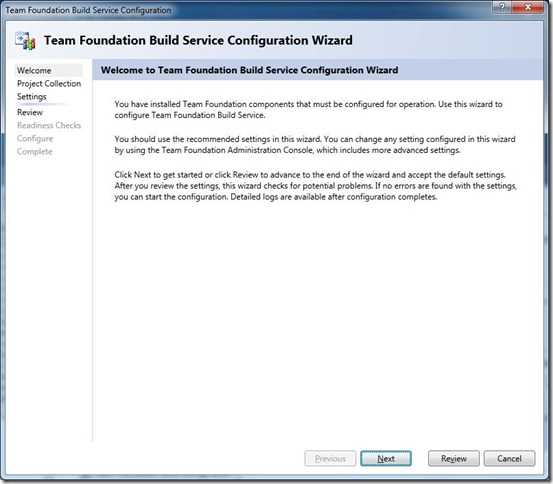
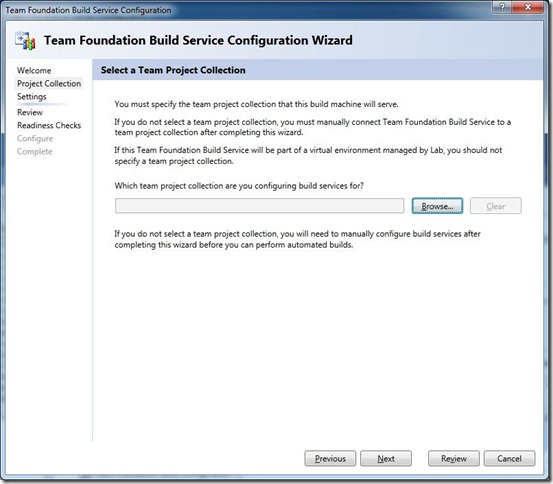
This post will be most helpful for those of you who have not installed or used Team Foundation Server before. Team Foundation Server can support sophisticated environments that include reporting, integration with SharePoint Products, support across multiple domains, distributed databases, etc. I’m not going to cover any of that here. Instead my goal is to help you understand "why Team Foundation Server" and how you can get started using the system.
First let’s talk about "why Team Foundation Server?" The goal of Team Foundation Server is to create a central repository with a set of tools that make it really easy to collaborate between roles. You could try to stitch together multiple disparate systems as follows:
 In this case each system has its
own storage, own set of identity for assets, own commands and tools.
Getting this going is like trying to hook up a set of custom stereo
components: you can pull it off but it’s going to be a lot of work and
you are missing out on some stuff.
In this case each system has its
own storage, own set of identity for assets, own commands and tools.
Getting this going is like trying to hook up a set of custom stereo
components: you can pull it off but it’s going to be a lot of work and
you are missing out on some stuff.What I’d rather have is a system which can integrate these items together and then enable my default work flow through the system:
 This integration enables some
very common scenarios. In a typical day I’m going to edit source code,
build the product, test it, file bugs, fix them, lather/rinse/repeat.
When the entire work flow is supported with one integrated repository
then all items can be related to each other. As an example when I check
in bug fixes I’d really like to see those defects resolved with the
change set recorded (see sample below).
This integration enables some
very common scenarios. In a typical day I’m going to edit source code,
build the product, test it, file bugs, fix them, lather/rinse/repeat.
When the entire work flow is supported with one integrated repository
then all items can be related to each other. As an example when I check
in bug fixes I’d really like to see those defects resolved with the
change set recorded (see sample below).The Basic configuration of Team Foundation Server allows you to do precisely this which is a big improvement over just having source control. The full version of Team Foundation Server then adds new features including automated testing, virtual lab deployment, and architectural validation (to name a few). This expands your work flow as follows:
 You can decide which of these new components you add when you use Visual Studio.
 There are many ways to access Team Foundation Server. As an engineer your most typical access point will be a version of Visual Studio. But if you are a tester you can use the new Test Manager product (no Visual Studio install necessary). If you are a project manager, you can also use the Web interface, Microsoft Excel, Microsoft Project, or (new for Visual Studio 2010) Microsoft Office SharePoint Server 2007 support for dashboards. More on this later. (For more information, see Role-Based Tasks for Team Foundation Server 2010 - editor's note).
In the rest of this post I will give you some step by step instructions on how to get going with Team Foundation Server using the basic configuration for your first project.
Getting Started
Now that you have the conceptual level it’s time to hook things up. You should start by doing the steps listed in Brian Harry’s Team Foundation Server post here. This will get all the required software on your machine with a default collection, creatively enough called DefaultCollection.
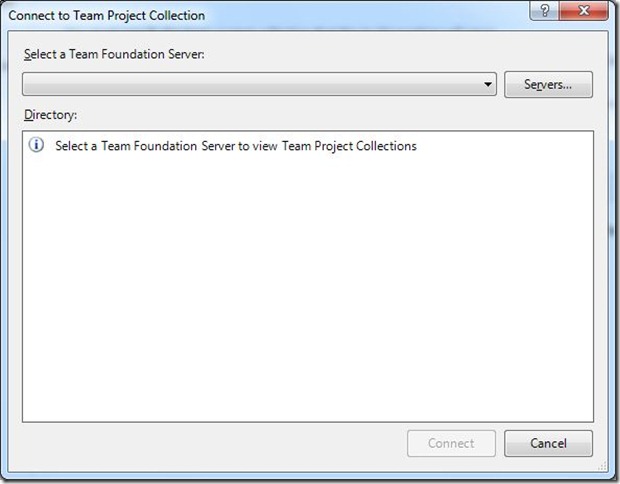
At this point we can connect to the Team Foundation Server collection from Visual Studio. The easiest way to accomplish this is to use the Team Menu (you can also use the link from the home page):
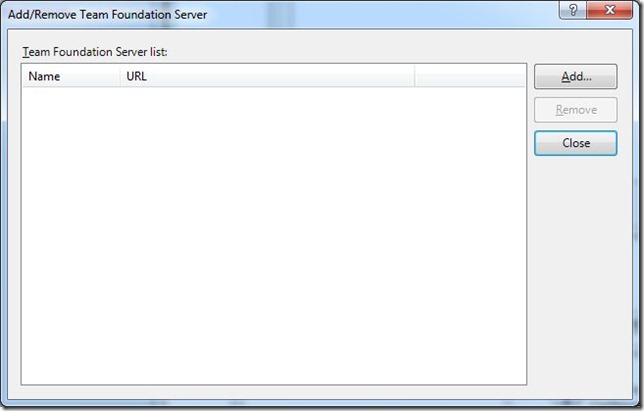
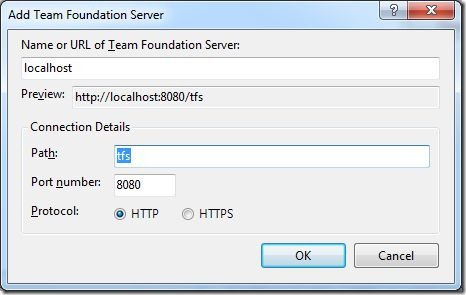
 You will be asked to find the
Server where Team Foundation Server lives. In this case my Windows 7
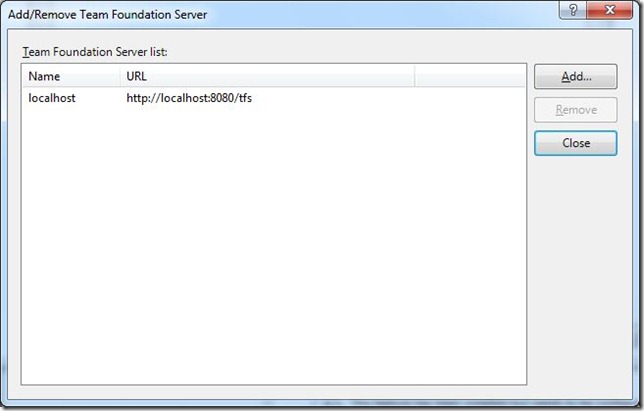
machine is called JLZW7. Add the server to the list using the Add
button, then click Close:
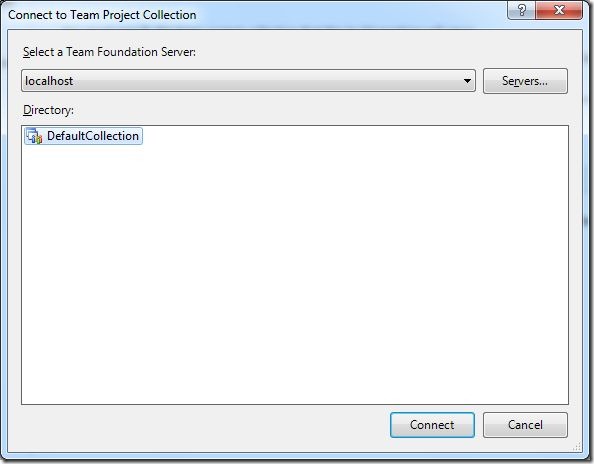
 At this point you can select the server from the combo box and then the DefaultCollection, then click Connect:
 The Team Explorer tab will now
have your server connection and DefaultCollection, but we don’t yet have
a Team Foundation Server Project to store anything in yet:
 For this tutorial I have created
a new Windows Form project to act as our sample solution (File, New
Project, Windows Forms). If you try to add this new code project to
source control, you will get an error. For example:
 After you select the "Add
Solution to Source Control" menu item you get the error "No team project
source control folders are available.":
 The error isn’t that intuitive
(especially given the word project is used for both Team Foundation
Server and inside your Visual Studio code solution but are different
things). The error means you must create an actual Team Foundation
Server project to contain all of the assets for your work. In Team
Explorer, right-click your collection and choose New Team Project:
 In this case I’m going to create
a Team Foundation Server project for an Accounts Payable system. This
project will contain all of the solutions, data, etc required for the
overall system. After entering the data, click Next:
 The Agile template is the
default but you can also select CMMI. You can find more details on MSDN
about the project template types. If you are using any agile
methodologies (like TDD) this is a fine choice. After making a choice,
just click Finish:
 You will get various status updates as the project is being created:
 After success, click the Close button:
 Team Explorer will now have the project ready to hold Work Items, Builds, and Source Control:
 At this point you can update the
project collection. Let’s add the new solution to Team Foundation
Server again. Right-click the project in the Solution Explorer and
select Add Solution to Source Control:
 At this point you could create a
new folder in Team Foundation Server for the solution or just take the
default. When you are happy, click the OK button:
 Upon success the Solution Explorer will now show the files are under source control (see the ‘+’ symbol in front of the files):
 You will also see the list source control actions taken to publish the solution. Add a comment and then click Check-In:
 Confirm the check-in by clicking Yes.
 At this point your new solution is in Team Foundation Server and ready for Work Items.
Work Items
You can create work items directly inside Visual Studio using the Team Explorer, through the web front end, and the Test Manager tool. To look at your work items, open the Team Explorer and expand Work Items, Team Queries, Iteration 1. You can then double-click any query (such as Active Bugs) to see any items available to you:
 Our Team Foundation Server project is empty so there are no active bugs in the list:
 Let’s create a new item just to
get us in business. Select the Team, New Work Item menu. Here you can
create several types of work items to track features, defects, etc.
We’ll select Bug to get going:
 Enter any data you want for the new bug and click Save Work Item to commit it to the database:
 If you now refresh your active bug query list, you will see the new bug:
 Let’s add a real bug to fix our
project. In my example I just created a default Windows Forms
application. We’ll want to update the title:
 Now we need to fix the bug. Navigate back to the Solution Explorer, select Form1.cs then choose Check Out for Edit:
 Click the Check Out button to confirm:
 The file will now have a check mark next to it so you know it is open for edit:
 As you update the Text property of the main window, Visual Studio will automatically check out any dependent files for you:
 This is a Windows Forms
application but it works on all solution/project types. Now that we are
happy with the code change, select the Pending Changes tab in the bottom
of Visual Studio:
 In this case we are fixing a bug, so click the Work Items icon button:
 Select bug #2 which tracks our title error. We are going to resolve it with this check-in:
 Add any comments you want and click Check-In, then Yes to confirm:
 If you refresh bug #2, you will now see the status changed to Resolved and the history is updated:
 Notice the change set (the set of source control changes) have been automatically included in the history.
 At this point you could continue to create and fix bugs as required to ship your solution.
 Other Ways to Explore Team Foundation Server
I mentioned that you don’t have to use Visual Studio itself to access the Team Foundation Server repository. We’ve done a lot of deep integration with other clients like the Web and Microsoft Office. As an example, I can simply pull up my web browser and go right to my server by using the server name (where 8080 is the default port): http:// jlzw7:8080/tfs/
 At this point I can explore my
collections and projects. If you select the new AccountsPayable project
we just created then the Continue button, you get more details. In this
case by navigating to the Work Items tab I can find the bugs in the
system including our newly resolved bug:
 This is a really easy way to
explore your project from any machine with no setup required. There is
similar support for using Microsoft Excel, Microsoft Project, etc. This
kind of access makes it easy for all people working on your project
(engineers and project managers) to work together.
 At this point you have a very useful set of assets you can use to get your job done. For those of you using Visual SourceSafe today, you might be very happy with just this level of support. You can put down this tutorial now and come back later if you want to try some advanced features, for example the testing scenario I showed using beta 1 in this tutorial.
Build Support
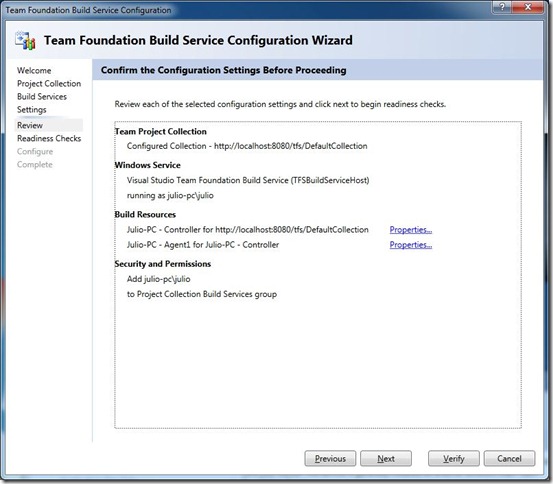
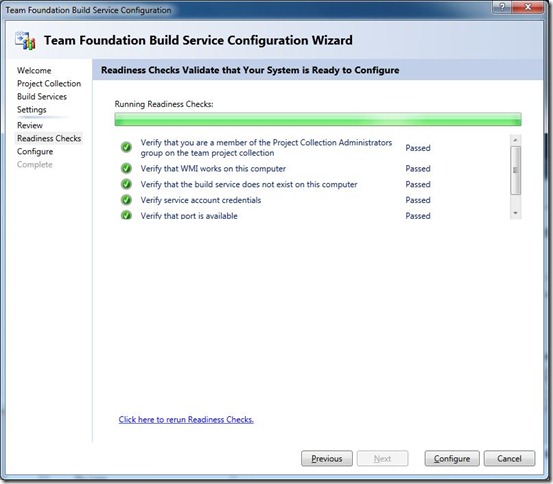
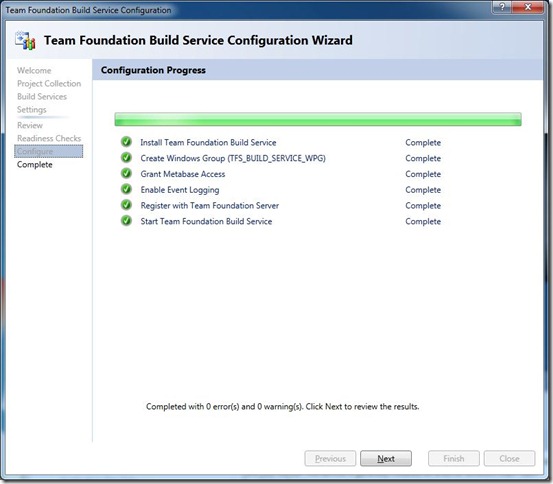
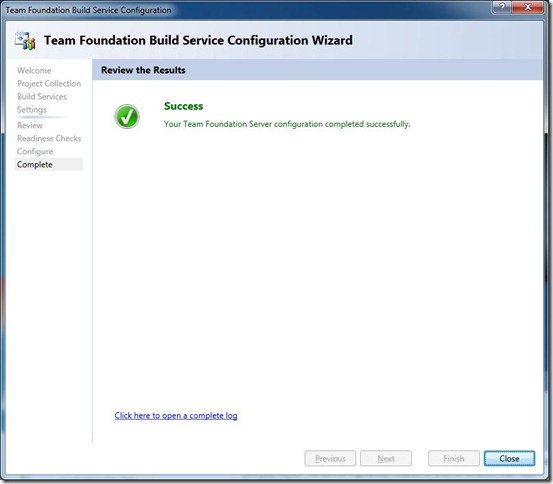
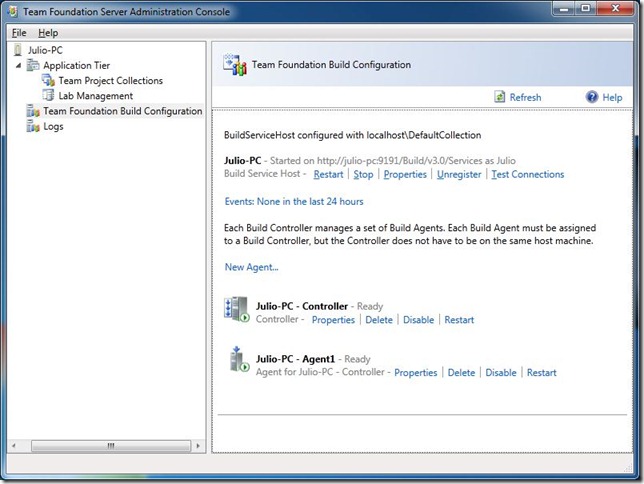
The next typical part of your work flow will be to automate your builds for the product. Assuming you followed Brian’s installation instructions, you now have local build support on your machine with Team Foundation Server. The first step is to navigate to the Team Explorer, right-click Build Definitions, and select New Build Definition:
 This will give us a set of definitions to fill out, just like a code project property page:
 The Trigger page allows us to decide when builds are kicked off. You have many options to pick from:
-
Manual is the default and the option we will use. We will have to kick off our own builds with this option.
-
Continuous Integration is very helpful when you want to have a
new build after every check-in. This allows you to validate new changes
right away rather than waiting later when many check-ins get mixed
together.
-
Rolling builds give you a way to batch changes together which is
very handy when builds are starting to take a while and you can’t afford
to do every one.
-
Gated Check-ins allow you to ensure all check-ins build before
they are committed to Team Foundation Server. This makes sure you never
expose a build break to other members of your team.
-
Scheduled builds are useful for getting a daily build out for the entire team to try out.
You can explore all the tabs at your leisure (each is fully documented with the product). But we need to resolve the yellow warning sign on Build Defaults by giving the build a place to store our new build, in this case a public UNC I created on my machine:
 Now you can save the build
definition to Team Foundation Server. If we go back to the Team Explorer
we can queue a build of the project:
 We’ll get a confirmation dialog where we can just select the Queue button:
 This will then queue off a build on my machine as shown by the status page:
 If you double-click the queued build you will get the detailed status of the build:
 From here you can see warnings
and errors, view the log file, navigate to the drop, etc. As an example
if you select the "View Log File" link you can see the executed build
script (subset):
 If you select the Open Drop Folder link you will be taken to our drop location:
 Now anyone can pick up the build and do their daily testing, release to a customer, etc.
At this point you really have everything you need to make full use of the basic features of Team Foundation Server.
When a team gets started with Visual Studio Application Lifecycle Management (ALM), the administrator sets up the server, the project manager creates a team project, and the other team members set up their working environments. The links in the rest of this topic guide you through the tasks of getting started with Team Foundation Server based on the following software development roles:
-
Administrator for Team Foundation Server
-
Project managers
-
Source control and build managers
-
Individual team members
Tasks for the Administrator of Team Foundation
-
If you followed the tutorial earlier in this topic, you
installed Team Foundation Server by using the basic configuration.
However, you may need to perform different installation tasks, including
upgrading a previous installation of Team Foundation Server or
performing a custom installation of Team Foundation Server or one of its
prerequisites.
For more information, see this topic on the Microsoft Web site: Installation Guide for Team Foundation.
-
If you followed the tutorial earlier in this topic, you were
automatically granted all the required permissions for project creation
during installation of Team Foundation Server. You may want to
grant additional users the permissions that they need to act as
administrators, project administrators, and other roles.
For more information, see Configuring Users, Groups, and Permissions.
-
Create a maintenance plan that will help ensure that your data
is backed up in case of a hardware failure or other event. For more
information, see Backing up and Restoring Your Deployment.
-
If any of your teams will use Visual Studio Lab Management,
install Microsoft System Center Virtual Machine Manager, configure Lab
Management, and create your virtual environments.
For more information, see Configuring Lab Management for the First Time.
-
If any of your teams will deploy builds and run tests remotely,
install test controllers and test agents on physical or virtual
machines.
For more information, see Setting Up Test Machines to Run Tests or Collect Data.
-
If you followed the tutorial earlier in this topic, you
installed Team Foundation Build by using the basic configuration.
However, you may need to perform certain management tasks to get the
build environment that you require.
For more information, see Administering Team Foundation Build.
-
Review the options for changing or modifying your deployment as your operational needs change. For more information, see Managing the Server Configuration.
Tasks for the Project Manager
-
Install the client or clients of Team Foundation that you will use.
For more information, see Installing Visual Studio.
-
Determine your project resource requirements and the project collection in which you will create a team project.
For more information, see Quick Start Guide to Launching a Team Project.
-
Choose a process template.
For more information, see Choose a Process Template.
-
In Team Explorer, create a team project.
For more information, see Create a Team Project.
-
(Optional) Define the product areas and milestones for your team project.
For more information, see Create and Modify Areas and Iterations.
-
Grant team members the permissions that they need to work in the team project.
For more information, see Add Users to Team Projects.
-
(Optional) Grant additional permissions to specific team members.
You or another administrator may need to provide additional permissions to team members who will be responsible for managing the source code under Team Foundation version control, managing builds, managing tests and the lab environment for testing, and other project-level activities. Specific permissions can be assigned to individual team members or groups.
For more information, see the following sections in Team Foundation Server Permissions:
-
Build-level permissions
-
Project-level permissions
-
Area and iteration-level permissions for work item tracking
-
Version control permissions
-
Lab management permissions
-
Build-level permissions
-
(Optional) Grant report authors additional permissions.
To create or modify reports that access data that is stored in the data warehouse, team members must have read access to the databases that make up the data warehouse. For more information, see Grant Access to the Databases of the Data Warehouse for Visual Studio ALM
-
Notify team members of team project resources and enrollment activities.
For more information, see Notify Team Members of Team Project Resources.
-
Plan your product.
If your team project is based on the process template for MSF for Agile Software Development v5.0, you can create your product backlog by using the Product Planning workbook. You can use the Product Planning workbook to manage the backlog of user stories and balance the workload across several iterations, also known as sprints. For more information, see Product Planning Workbook.
If your team project is based on the process template for MSF for CMMI Process Improvement v5.0, you can use the Product Requirements team query to start to plan your product. You can open this query in Office Excel, add requirements, and then publish them to Team Foundation. You can also use Office Project to plan and schedule your project. For more information, see the following topics:
Tasks for the Version Control and Build Managers
-
Configure version control.
For more information, see Administering Team Foundation Version Control.
-
If you are using Team Foundation Build, create build definitions for each of your team projects.
For more information, see Building the Application.
Tasks for Individual Team Members
-
Install the client or clients of Team Foundation that you will use.
For more information, see Installing Visual Studio.
-
Set up your workspace for version control.
For more information, see Create a Workspace to Work with your Team Project and Placing Files under Version Control.
-
Familiarize yourself with creating, modifying, and finding tasks and other work items.
For more information, see Getting Started Tracking Work.
MSDN


