Configure the Team Foundation Build Service of TFS 2010
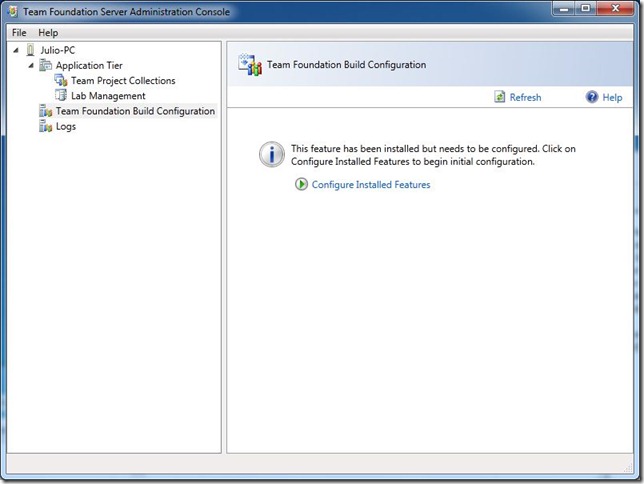
1. Open the Team Foundation Server Administration Console from Start Menu –> Microsoft Team Foundation Server 2010 Beta 2.2. In the Team Foundation Server Administration Console select Team Foundation Build Configuration from the left panel and then click Configure Installed Features on the right.
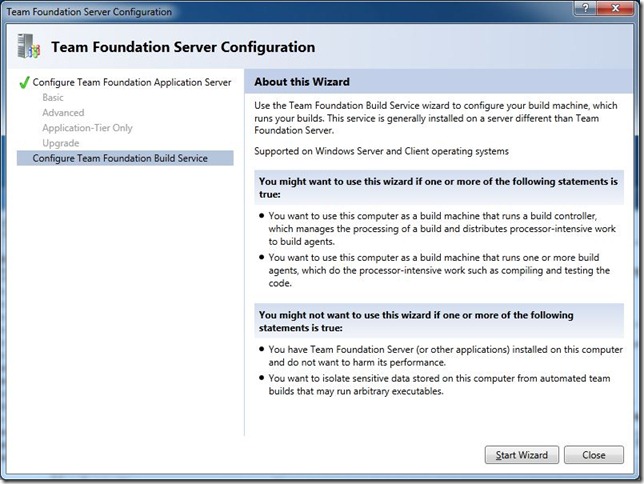
3. On the Team Foundation Server Configuration screen click Start Wizard.
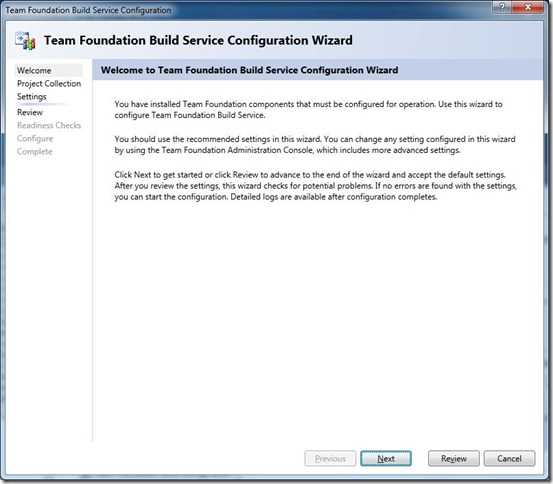
4. On the Team Foundation Build Service Configuration Wizard start screen click Next.
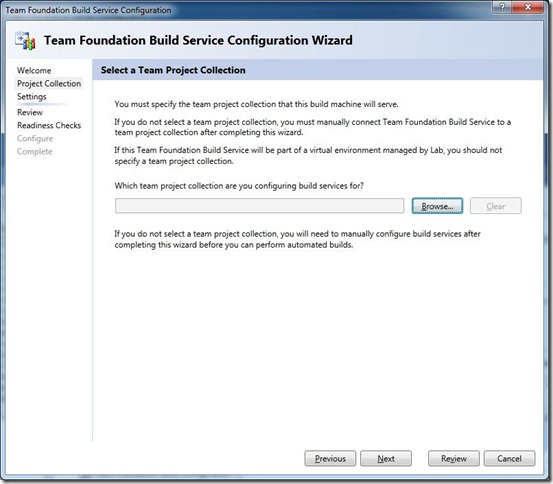
5. On the Team Project Collection screen click Browse… to select the team project collection that this build machine will serve.
6. On the Connect to Team Project Collection dialog click Servers… to select the Team Foundation Server where the team project collection is located.
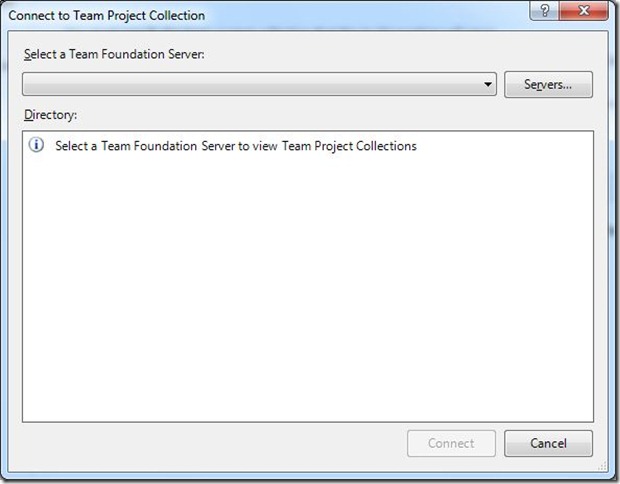
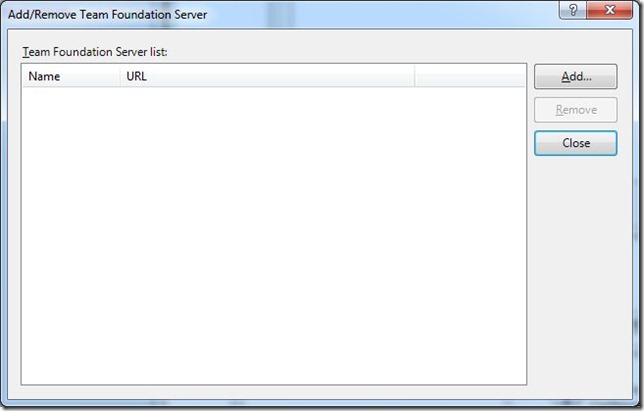
7. On the Add/Remove Team Foundation Server dialog click Add… to add your Team Foundation Server to your server list.
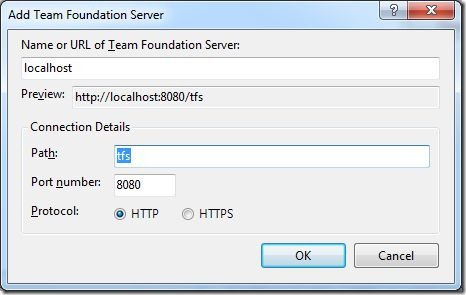
8. On the Add Team Foundation Server dialog enter localhost for the server name (we installed TFS on the same Windows 7 machine where we are configuring the Team Build Service) and leave the other fields with the default values. Then click OK and then Close in the previous dialog.
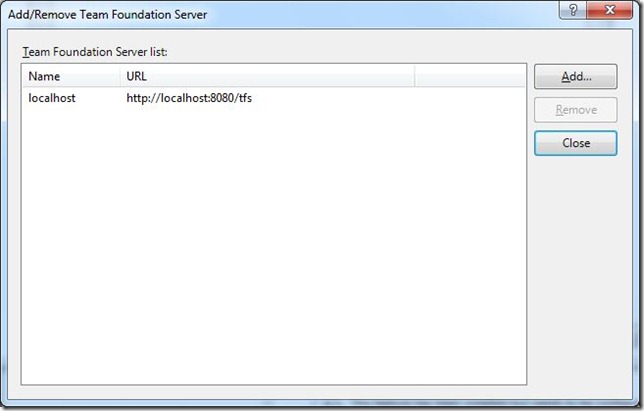
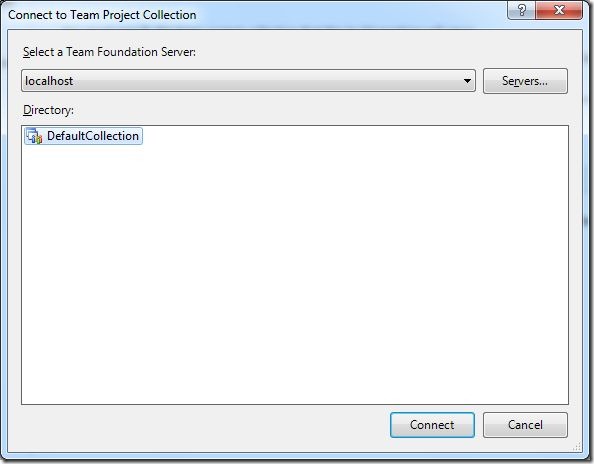
9. Back in the Connect to Team Project Collection dialog, select localhost in the server drop down list and DefaultCollection on the directory list. Then click Connect.
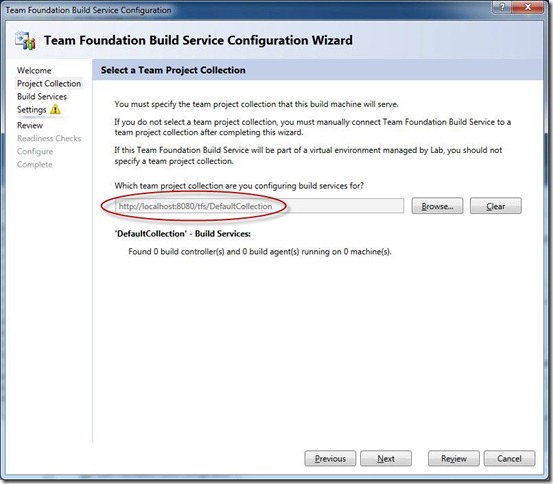
10. Back in the Team Project Collection screen of the wizard you can see you have now selected DefaultCollection for your team project collection. Click Next.
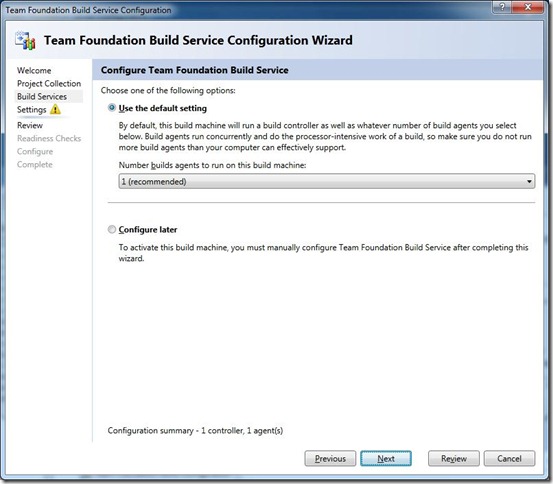
11. On the Configure Team Foundation Service screen, select Use the default setting and select 1 (recommended) from the drop down list. This is appropriate as we are configuring a build service for a Windows 7 laptop, so we don’t want to affect the performance of the machine with more than one build agent. Click Next.
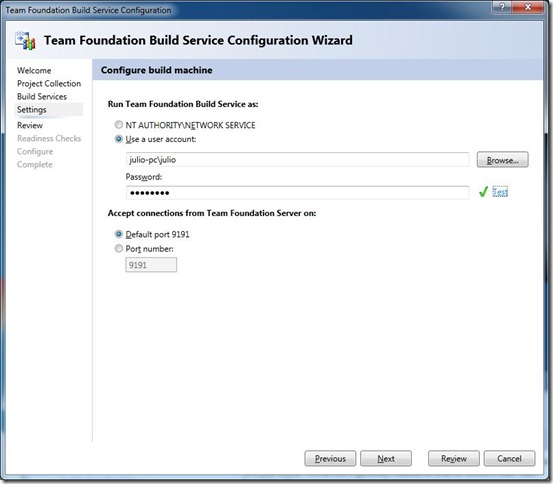
12. On the Configure Build Machine screen select Use a user account and then enter your user credentials. I didn’t select Network Service because in the verification step (a couple of steps after this) I got a warning stating that Network Service was not part of the project collection. So for now just enter the same administrator account that you used to install TFS 2010. Make sure you specify your account as <machinename>\<username> because if you don’t specify the machine name and click Test it will pass the validation here but will
fail in the middle of the configuration process later (I suppose this is a bug, hopefully fixed for RTM). Leave the default port selected (9191) and then click Next.
13. On the Configuration Summary screen click Next.
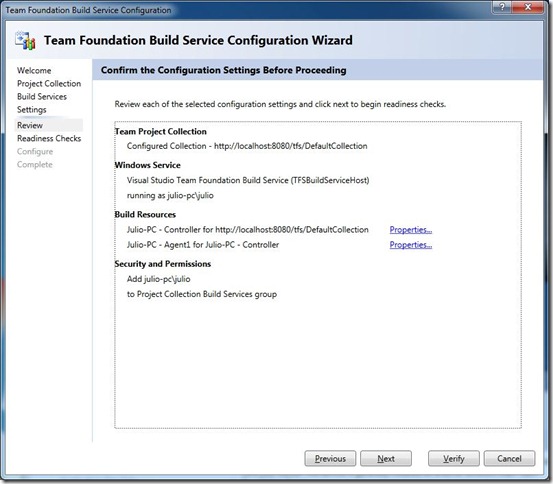
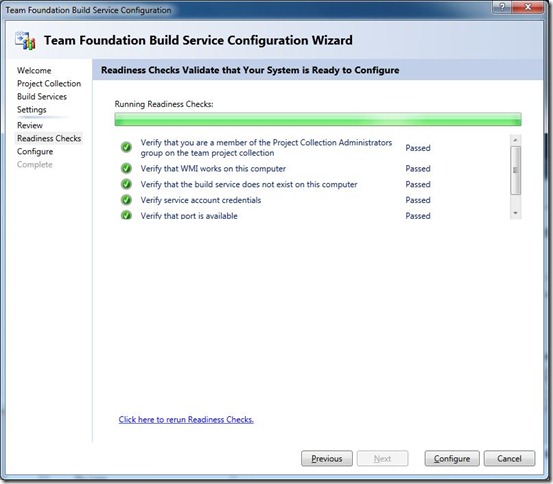
14. On the Readiness Checks screen wait for all validations to pass and then click Configure.
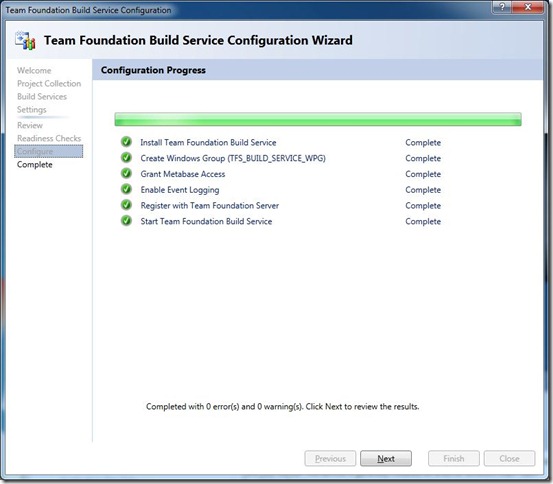
15. On the Configuration Process screen wait until the all the configuration is done and then click Next.
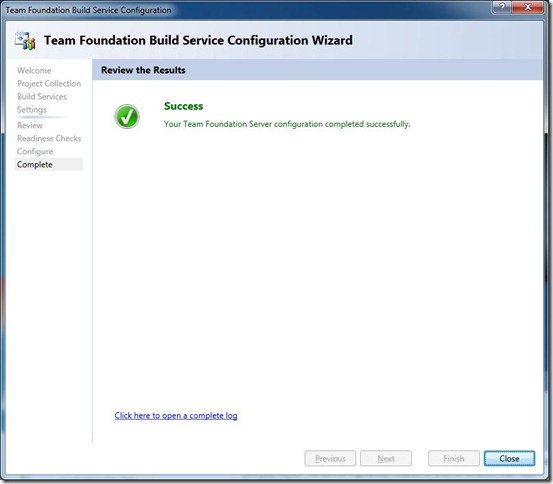
16. Your Team Foundation Build Service is now ready to use. Click Close to end the wizard.
17. From now on you can check and/or change your Team Foundation Build configuration from the Team Foundation Server Administrator Console.
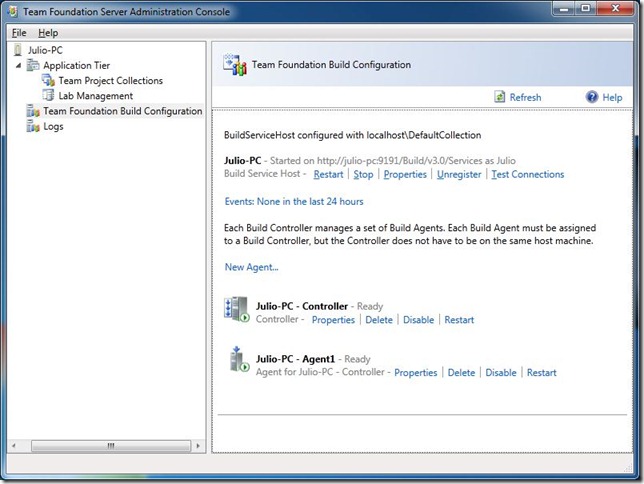
I must say that, besides user account problem I related in step 12, it was a pretty easy configuration and I am now curious about this new Build Controller + Build Agent environment that you have in 2010. I think it will make much more sense in a more complex environment.
I’d like to cover the actual creation of a new Team Project in the next post. I’m pretty excited to see the innovations in the process templates, specially for MSF 5.0, so keep checking the blog for some updates soon.
Julio

No comments:
Post a Comment